

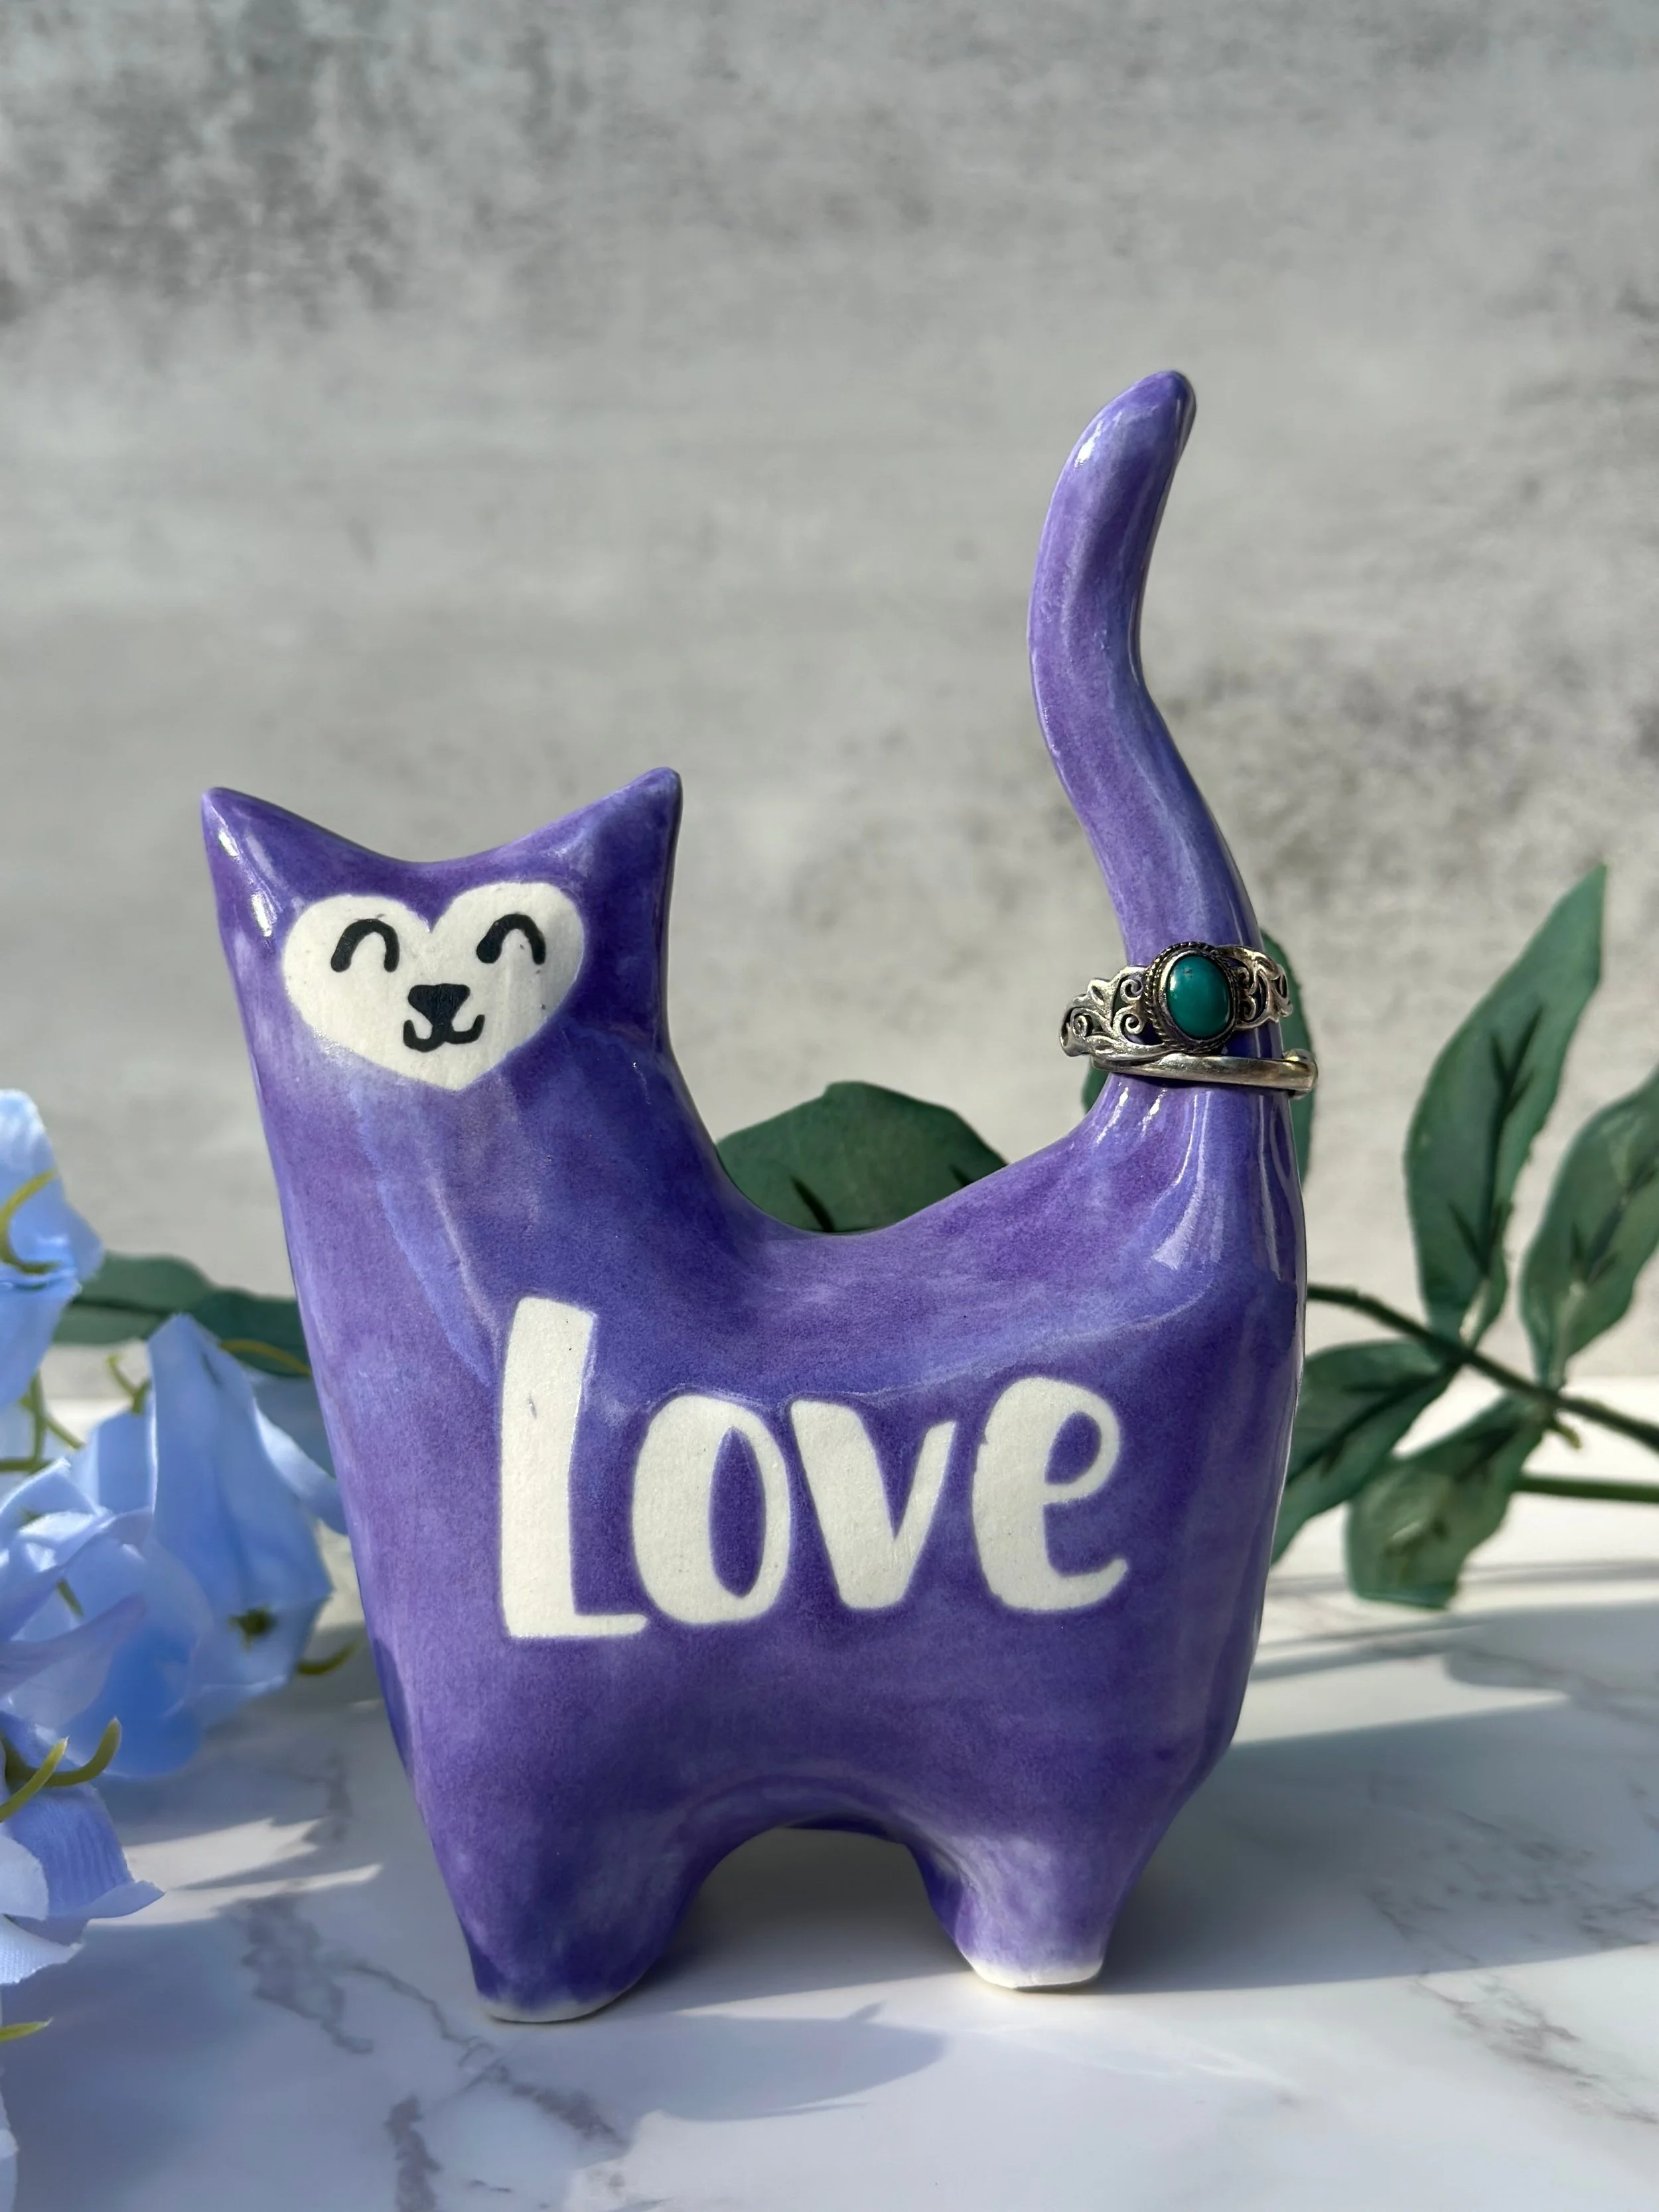
How to Use Vinyl Stickers as a Surface Decoration for Pottery

A few years ago, inspired by videos on Instagram, such as videos from artist Mathew Arnold, I decided to tape my own piece.
After approximately 45 minutes of taping, the result was this cup, which I then donated to the Kaabo Clay Collective, a virtual network fostering connection and in-person initiatives for Black ceramic artists.
After my experience using vinyl tape to make linear glaze resist designs onto bisqueware, I thought about how I could go about creating my very own vinyl stickers… Such imagining led me to purchasing a Cricut!
In this blog post, I'll walk you through the different ways to use cut vinyl stickers on your pottery. As you will see, vinyl stickers are a fun and versatile way to add intricate and/or custom designs to your pottery.
Why Use Vinyl Stickers on Pottery?
Vinyl stickers act as a resist, meaning they prevent glaze, slip, or underglaze from adhering to the covered parts of your leather-hard or bisqueware pottery.
The stickers allow you to create crisp, intricate, and custom designs (such as words or mandalas) without the need for delicate hand-painting or advanced brushwork skills (either with wax, underglaze, slip, or glaze).
Benefits of Using Vinyl Stickers in Ceramics:


Precision & Clean Lines – Vinyl stickers are great for geometric shapes, lettering, or detailed images.
Versatility – You can use vinyl stickers as a resits with underglaze, slip, and glaze. I’ll go into each method in this post!
Customizable – You can use pre-cut stickers or make your own with a vinyl cutter using a pre-made design or a custom design.
Pre-cut intricate vinyl stickers aren’t easy to come by (though these capital letters are available on Amazon!).
For pre-designed options, Cricut makes some digital images free to use. Cricut also has a library of available designs in Design Space. Click here to learn more.
For a fully original approach (my preferred method), you can design and create your own vinyl stickers!
You can do some customization in Design Space with regards to fonts.
For a fully unique design, draw your custom sticker in black on white on a software (ex. Sketchbook Pro on the iPad). Upload the design onto Design Space to print it. Make sure the design is in black ink on a white background (the 2 color high contrast is essential to the “remove background” feature on Design Space).
Materials Needed
Before you begin, gather the following materials:
A Vinyl cutter (e.g. Cricut)
Large Cricuts are available at Michaels (on sale for $199), Amazon (on sale for $199), and Blick ($299), to name a few locations! You can also get a Cricut Joy for a slightly more budget option!
Pro Tip → Blick has a price match policy, so if you ever see an online price for an identical product at a major qualifying competitor (like Amazon or Michaels) that is lower than Blick, including discounts and shipping, you can place your order by phone (1-800-828-4548) to get the product at the lower price.
A Cricut outside of your budget? Too big for your space? Ask to see if you can borrow one from a friend! Sharing is caring!
Vinyl stickers or adhesive vinyl sheets (pre-cut, pre-designed, or DIY)
If you are making your vinyl stickers, I recommend stencil vinyl (available here on Amazon or Blick). If you are using a Cricut Joy, you can find stencil film here.
Want to learn about all things vinyl from Cricut? Click here.
Ceramic piece (bisque-fired or leather-hard clay)
The application method will vary based on the state of your clay.
Underglazes, slips, or glazes
For underglazes, check out this set from Mayco and this set from Speedball as good starter sets for mid-fire clay and glazes.
To learn more about the best consistency of slip for the vinyl resist technique on leather-hard clay, read this post about slip trailing.
Tweezers or a needle tool
There are used for precise removal of your stickers.
You can purchase a Cricut Basic Tool Set (Amazon or Blick) or a Mosaic Tool Kit (which can come in handy for weeding stencils, peeling them off pieces, and cleaning any potential underglaze bleeds).
Personally, I use a pin tool, simple tweezers, and my fingers for all my sticker removal.
Making the Vinyl Sticker
The how-to tips on this blog post begin with you already having your vinyl stickers printed, cut, weeded, and ready to go.
To learn how to cut vinyl stickers on a Cricut, check out this Youtube video on How To Make Vinyl Stickers with Cricut and this blog post from Happy Scraps.
Techniques for Using Vinyl Stickers on Pottery
1. Underglaze Over Vinyl Stickers (For Bisqueware or Leather-Hard Clay)
This method creates patterns by having the vinyl cover areas where the underglaze won’t adhere to the pottery piece.
Steps:
Apply Vinyl Sticker:
Place the weeded vinyl sticker onto your bisque-fired or leather-hard piece.
Pro Tip →While Cricut recommends using transfer tape when transferring vinyl stickers onto surfaces, it’s possible that the sticker will stick more to the transfer tape than the surface of your piece. I don’t use the transfer tape. I apply the stickers by peeling them off with tweezers and applying them that way.

Once the vinyl sticker is on, smooth it down with your fingers staring from the inside and working your way out (which is especially important on curved surfaces). This helps prevent the underglaze from seeping under.
Paint Over with Underglaze:
Using a brush or a sponge, apply the underglaze over the sticker, covering the desired surrounding area.
Dabbing the underglaze on with a sponge may reduce the chance that underglaze will seep under the stickers.
Use multiple layers of underglaze (and wait for each layer to dry before applying the next) for a fuller color before peeling off the sticker.
Looking for a fun effect? You can use multiple colors to create an ombre look!
Further reading —> For a great tutorial on how to work with underglaze and vinyl stickers on leather hard clay, check out this write up from the Ceramics Art Network.
Peel Off the Sticker:
Let the underglaze dry slightly (not fully), then carefully peel off the sticker using a needle tool and, if needed, tweezers.
You should be left with a clean design where the sticker was placed. If the underglaze bled under the sticker, you can clean it up with a trimming tool if on leather hard clay, a q-tip on bisqueware, or a ball tip tool for the tiny details.
2. Slip Over Vinyl Stencils (For Leather-Hard Clay)

This technique uses vinyl as a resist when applying slip to leather-hard clay.
When working with slip, it’s important that the piece is not too dry, otherwise the slip may crack off.
I like to apply slip when my pieces are firm but still a tiny bit tacky to the touch.
Steps:
Place Vinyl Sticker on Leather-Hard Clay
Smooth the weeded vinyl sticker down onto the surface of the piece starting from the inside out so no slip can seep underneath.
Apply Slip Over the Sticker
Using a hake brush or a soft brush, brush on your slip of choice over the desired surface you want covered.
The slip should be the consistency of yogurt and have the same shrink rate as your clay. Read this post about slip trailing to learn more about ideal slip consistency.
Your slip can also be colored with oxides or mason stains.
Remove the Vinyl Sticker
Once the slip has dried slightly (when it has lost most of its shine, but is still tacky), carefully peel away the vinyl to reveal the pattern.
Removing the sticker when the slip is still a little wet will minimize the chance of dry chunks cracking off.

Here’s a picture of the final product of my vase decorated with cobalt oxide slip over an original vinyl sticker cut on a Cricut.
3. Glaze Over Vinyl Resist (For Bisqueware)

This method works like wax resist, keeping the glaze off the covered areas of your piece.
Steps:
Apply Vinyl Sticker to Bisqueware
Make sure the piece is clean and dust-free by wiping it down with a damp sponge before applying the sticker. If your piece is dusty, the sticker will stick to the dust, not your piece. Wimp womp!
When you apply the weeded vinyl sticker, make sure to press it down firmly onto the piece using pressure and working from the inside out (this is important over curved surfaces).
You may apply a little extra pressure on the edges using a fingernail if necessary.
Glaze Your Piece
Whether you brush or dip your glaze, apply the glaze over the surface you want glazed.
You will notice that the glaze will not adhere to the vinyl sticker and the glaze will bubble away (much like with wax resist).
The nice part about vinyl, is that you don’t have to use a damp sponge to clean up those little bubbles as you do with wax resist, you will just peel them away!
Peel Off the Vinyl Sticker
Remove vinyl with a sharp pin tool and/or tweezers before the glaze fully dries to a chalk-like consistency to prevent chipping.
The unglazed areas will remain unglazed and show off the clay’s color (raw or underglazed) as well as it’s texture.

Here’s a picture of the final product of my oil pour. The piece was underglazed with an ombre effect at the leatherhard stage then bisque fired. I then printed, weeded, and placed one of the free heart designs from Cricut Design Space onto the piece. The piece was then partially dip-glazed, and then the sticker was removed to reveal this mandala-like design with the bare clay ombre effect.
Common Mistakes & How to Avoid Them
Sticker Not Sticking Well?
Vinyl stickers are much harder to work with on bone dry clay, because bone dry clay is inherently dusty. It’s best to work with leather-hard clay (firm, not tacky) or bisqueware. For bisqueware, make sure the piece has been wiped down with a slightly damp sponge and allowed to dry before applying the sticker.
When applying the sticker, press down firmly, starting from the center of the sticker and working your way out. Make sure to apply pressure around the edges.
If you are using stencil vinyl (which is recommended) on leather hard clay, hydrate your sticker by dipping it in a shallow bowl or plowl) of water. If the sticker peels off nicely after first use, you can also reuse it by wiping off the underglaze and rehydrating it with water. Check this video out to see how hydrating the sticker works.
Just in case, have back up stickers. I always print and weed multiples of stickers in case I need to start over. I find it more efficient to have a printing / weeding session where I make many stickers at once instead of printing one piece at a time.
Underglaze or Glaze Bleeding Under the Sticker?
When underglazing, let each layer dry before adding the next. Consider underglazing by dabbing with a sponge from the top down as opposed to brushing from side to side (which could brush the underglaze under the tape if there is even just a little gap).
If, on application, the sticker creates a fold, consider snipping the fold with scissors and layering the sticker on top of itself as opposed to keeping the fold (which will likely have a small gap for underglaze, slip, or glaze to bleed under).
If your underglaze is very runny, it may seep under the sticker. You can thicken your underglaze with a small amount of silkscreen medium (like this one from Mayco) until it is the consistency of yogurt.
If underglaze or glaze bleeds under the sticker, that’s also ok. Most of the time, I have to do some clean up when using vinyl stickers. You can clean the bleeds up by scraping them with a tool like this clean up tool from Kemper. This Mosaic Tool Kit can also come in handy for weeding, peeling, and cleaning. These Xiem Double Ended Trimming Tools are excellent for detailed clean up, too. If you are working on bisqueware, you can also use a wet q-tip for clean-up (I got this trick from my nail technician!).
Closing Thoughts
Using vinyl stickers is a fun surface decorating technique to try at any stage in your pottery journey — whether you’re a beginner or an experienced potter!
Vinyl stickers allow everyone to elevate their pottery decoration.

Need some creative inspiration?
You can make personalized mugs by adding names or meaningful quotes.
You can add ocean-inspired designs like seashell stencils for a beachy vibe (like this cup I made with an original shell drawing) or leaves for botanical effect.
Whatever your aesthetic, your design options are plentiful!
As an Amazon Associate and a Blick Art Materials Affiliate, I earn from qualifying purchases. Your purchases help me with creating my own art, and I am super grateful! Image credits: all images are of my own artwork, please credit Meesh Pottery.